The Best Tips on How to Throw a Throwing Knife
There are many reasons why you should buy a throwing knife, but first, if you want to learn to throw a throwing knife, start here.
If you find the idea of hurling an extremely sharp object at a small target intimidating, you’re not alone. Knife throwing has been around for centuries, and is making an increasingly popular comeback – millions of people have yearned to take up the increasingly popular sport of knife throwing, but never did so because they didn’t know how. If you’re one of these individuals, this is the resource for you. In this guide, we will review how to buy the right throwing knife, throwing basics, types of throws, throwing stance, advanced throws, and general tips
Step 1: Pick the right knife
 When you’re first starting out, you may be tempted to grab one of your folding knives and throw it as hard as you can at a wall, but that’s the wrong way to begin.
There are a variety of throwing knives to choose from, including throwing stars and tomahawks, but don’t try to show off too soon.
Start with a simple throwing knife that weighs about 200mg and is between 7.5 and 12 inches long. Anything less than 200mg will require more throwing accuracy
Cold Steel knives are by far the best throwing knives. They won’t break like other cheaper alternatives. The 12″ Cold Steel Sure Flight Sport Throwing Knife is a good starter option as it is really well balanced w/a good length. This makes them good for beginners who aren’t sure whether they want to throw rotational or no-spin. It is a bit lighter in weight, which means it won’t be as good for throwing long distances. However, while learning, the lighter weight will keep wrist strain down.
Another option for the more advanced knife thrower is the Magnum by Boker Mini Bo-Kri Bailey. Although oddly shaped, they have a great feel and are balanced in a way that makes calculating rotation easier. The shape means they still rotate well even though they are lighter and shorter than most rotational throwing knives.
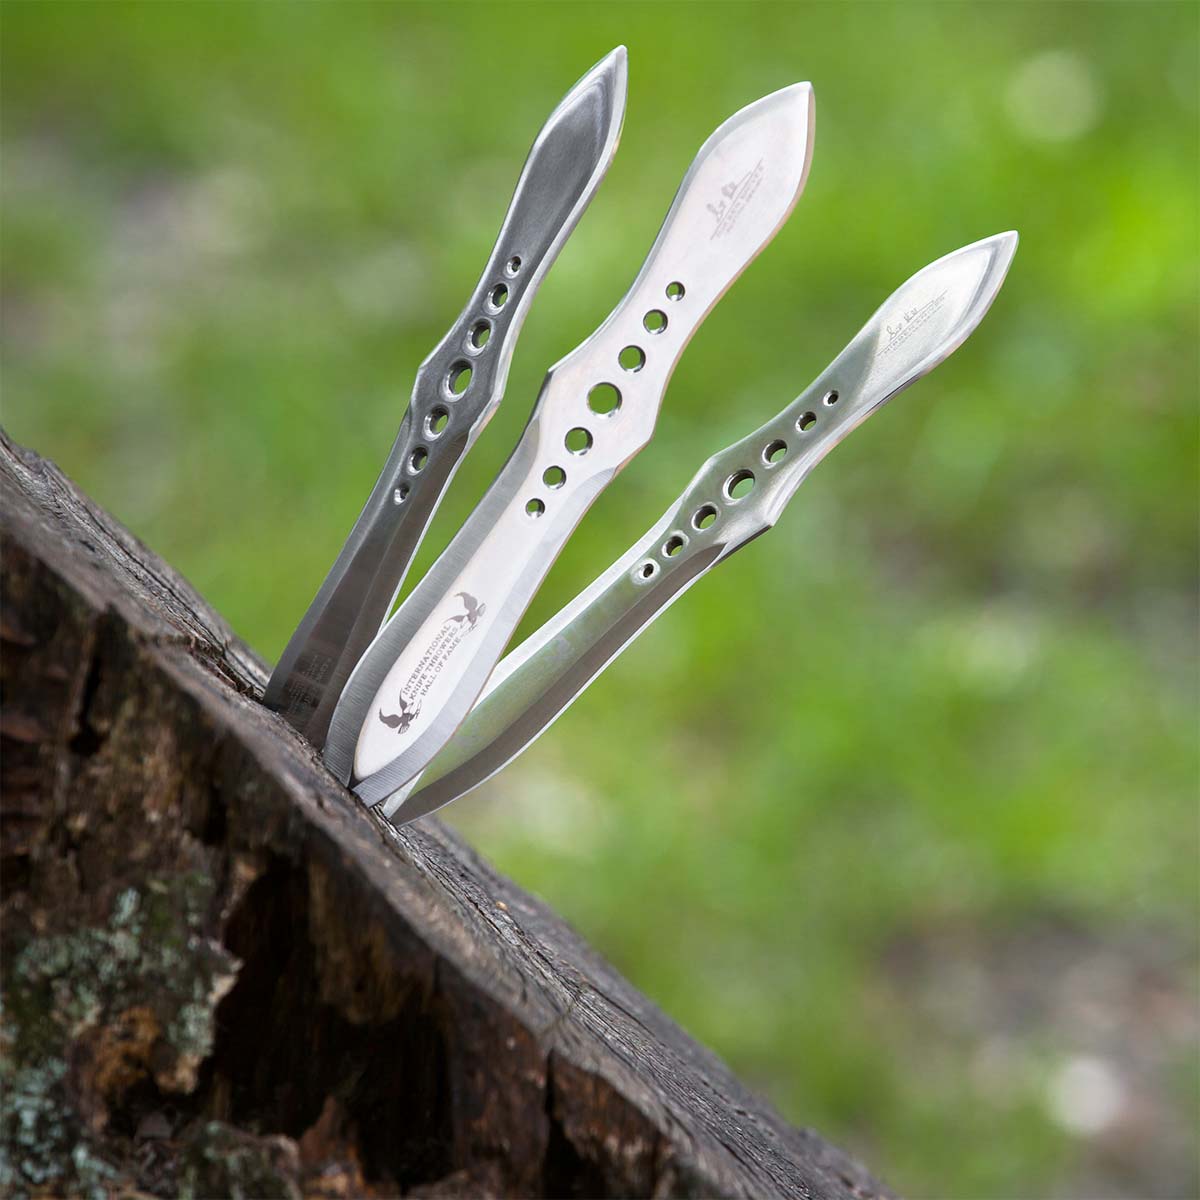
Many top throwers use these and they were designed by master knife thrower John Bailey, each of the three blades in this set features unique contours and lines that’ll give you the edge you need to achieve whip-cracking speeds and bullseye hits. Bailey’s personal signature is stamped on every one of these blades, just so you know whom to thank later.
Step 2: Set up a target
With the knife ready, it’s time to set up a target. The target should be something like a wooden post, a wooden board or even a tree, just keep in mind that whatever it’s near could be hit by a sharp projectile. A perfect target is around the height of your chest and should obviously have the ability to catch a knife unlike, say, a brick wall.
For beginners, focus on a soft and large target. This ensures that you do not focus on accuracy or power, and instead focus on working on correct rotations. Feel free to draw a bulls eye on the target, but don’t expect to hit it every time when first starting. Use the first few times to practice holding and throwing the knife rather than aiming for the center of the target.
Step 3: How to throw a throwing knife
The stance
Good throwing posture includes the following —
- A relaxed body: If your body is tense, you will most likely try overthrowing the knife which leads to bad form and inconsistent throwing.
- Standing up straight: Standing straight, leads to throwing straight, so this is necessary for an accurate throw. Since throwing a knife involves the whole body, you want to make sure you have a stable stance that will help propel the knife forward.
- For right handed throwers: Stand several feet away from the target and place your left foot in front and right foot in back. When throwing left handed, switch it. Your heels should be on a line, but your feet should form a 45 degree angle. Then bend your knees and have your weight rest primarily on the ball of your back foot
The grip
 There are actually a few ways and techniques to hold a knife, but the hammer grip and pinch grip are most popular. With the hammer grip, which is what beginners should start with, you basically hold the grip of the knife as you would a hammer. Your five fingers should be wrapped around the grip with the blade sticking straight up. The pinch grip requires pinching the end of the blade between your index and thumb. The knife should be pointing straight out and away from the body.
The movement
With the stance and grip down, it’s time for the motion. Point both arms directly at the target. Leaving the left arm pointed at the target, lift the right arm with the knife up and over your head, similar to an exaggerated chop of a butcher’s knife. Once you start bringing the knife back, shift your weight from your back right foot to your front left one. Release the knife as your right arm comes down and follow through all the way.
Knowing when to release
This is the hardest part of knife throwing and requires a lot of practice, because it’s what separates skilled throwers from novice throwers. A good rule to remember is to release the knife when your right arm is about even with your aiming arm (left arm).
Keep practicing
Have fun learning how to throw throwing knife! There’s a good chance that when you threw your first knife, the handle hit the target and it bounced right off. Don’t give up. At some point, everyone throws a dud, but it shouldn’t discourage you. Keep practicing consistently and try to set up a throwing group with some of your friends.
Knife throwing grip images shown courtesy of KnifeThrowing.info.


June 21, 2020 at 2:46 pm
The 2 types of woods are softwood and hardwood. Hardwood rebounds and doesn’t hit the target well. Oakwood is the material you should avoid.
“Cottonwood material” is the material you should choose for the and they are the material you should choose. When the knife is pulled from the target it seals the target. Other good wood materials are Palm and Pinewood.
July 22, 2020 at 8:17 am
That’s a great piece of advice, Tim! Thanks …
August 3, 2021 at 6:39 am
Thanks🙏🏻🔪